Portfolio
Documenting what I learn - Labs, CTFs, etc.
Joining the Domain For Users/Clients
Windows 11 Evaluation Copy
After you have installed the Windows 11 Eval Copy ISO, you can open a 2nd virtual machine (a 3rd one even) quite easily. Edit the settings for the VM as you have done for the Domain Controller/Windows Server 2022, locate the ISO file, and follow through with the installation steps.
After you have finished setting up the Eval copy, during login, you will be prompted to sign into a Microsoft Account (you shouldn’t); instead, opt to select the option to join a domain. This allows you to create a local account, way easier than setting up an entire Microsoft Account (especially if you have to do this for several users).
At this point, you can open your third VM (2nd client machine for another Windows 11 computer to simulate multiple users/computers). Optional, but highly recommended.
DNS Reassignment
For new users/computers that join the domain, they must use the AD DNS server rather than the default assigned one. You can check if the user is currently connected to the AD DNS Server by doing ipconfig /all in the command prompt.
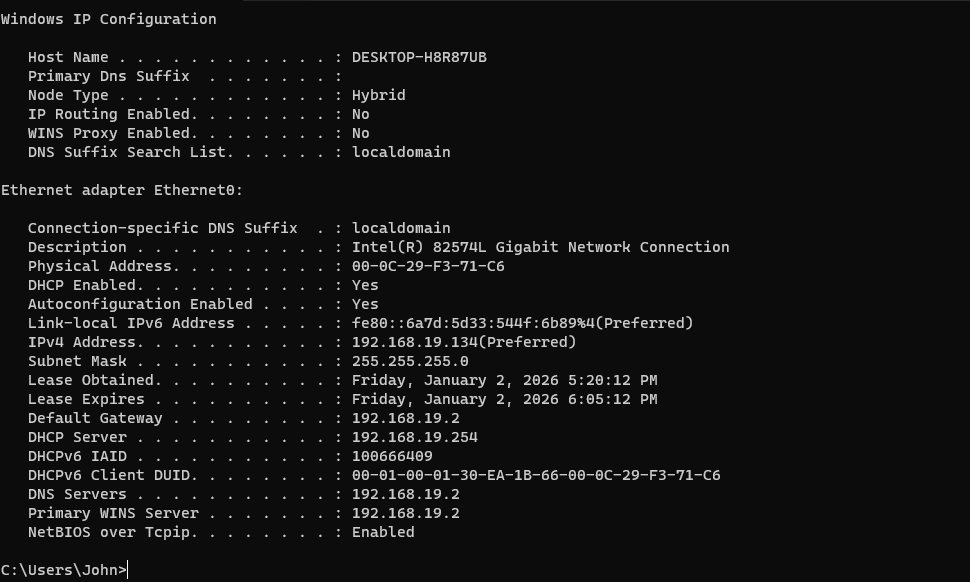
Running ipconfig /all on a client Windows 11 computer
As you can see, the current DNS Server does not point to the static IP address 192.168.19.100 that we set before. We must set the DNS Server to be 192.168.19.100 for this client, or else it will not be able to find the domain controller within the network, which means it will not be able to connect to the domain and access related AD services. This can be done in settings via DNS server assignment.
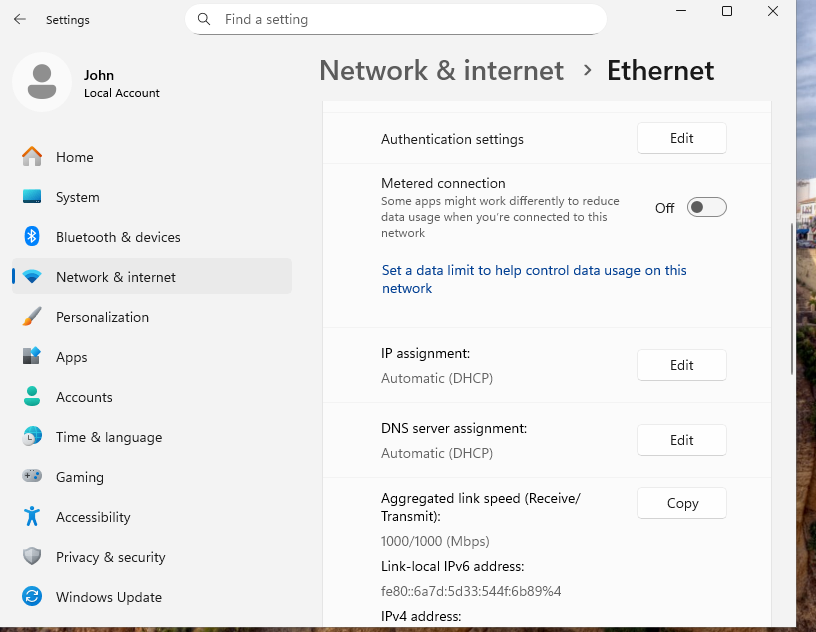
Click on edit, and then input the static IP address that you have configured for the AD+DNS server
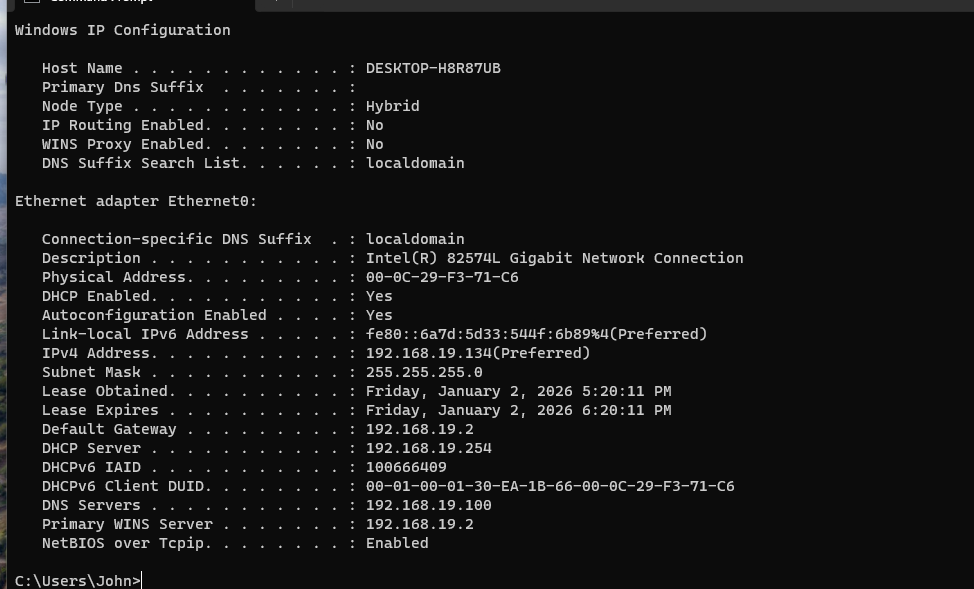
Now, run ipconfig /all again, and you should see that the preferred DNS server is the static IP that you have for your AD+DNS server
Creating Users in Active Directory Users and Computers (ADUC)
Now, we have to actually create user accounts for our clients who will be joining our domain. This can be done via ADUC or Active Directory Users and Computers.
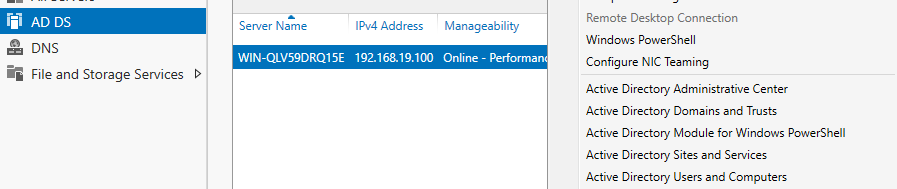
Select AD DS, and then right-click on the server -> and select Active Directory Users and Computers
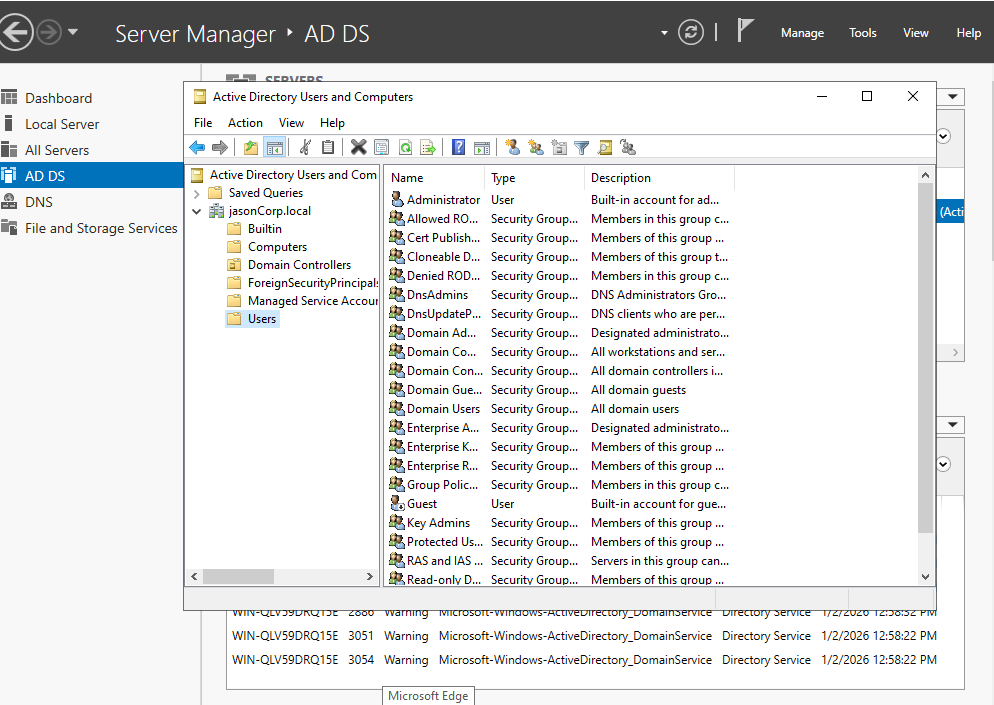
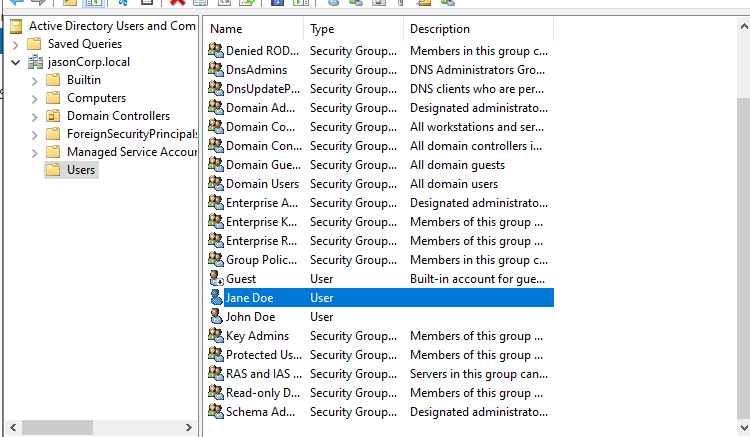
This is an example of how ADUC would look
Navigate into the Users Organizational Unit (OU). An OU is basically the folders you see within ADUC. It is a folder/container that is used to organize users/computers/resources within the AD environment. The Users OU should be automatically created and prefilled.
Now, inside the Users OU, right-click -> new -> User.
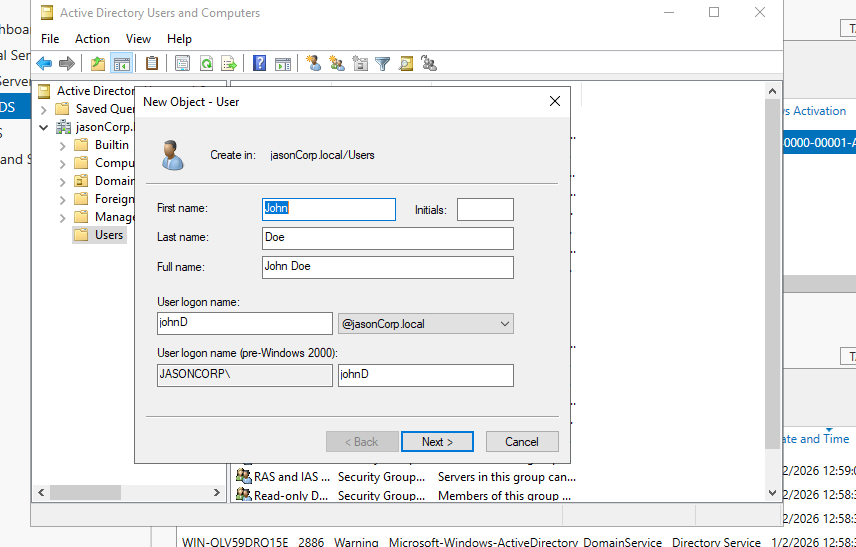
Fill out accordingly
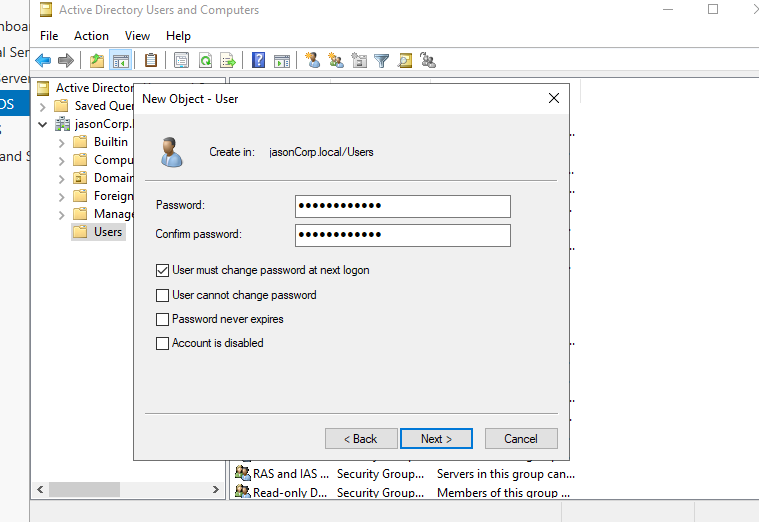
It will prompt you to create a password and other password settings
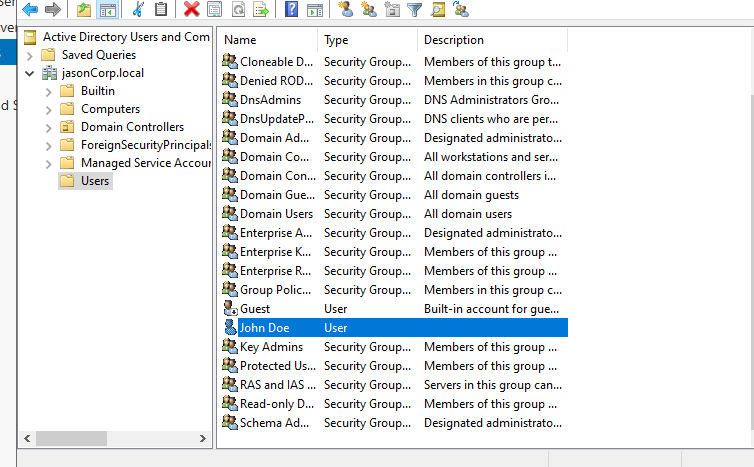
After you have finished setting up the user, you should see that user populate inside the Users OU
Not required, but definitely helpful to have multiple users
Joining The Domain
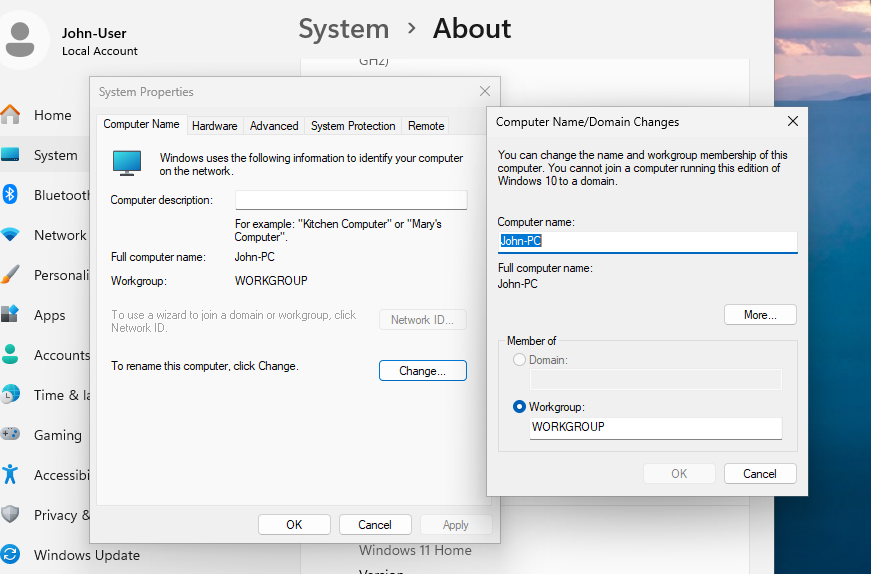
Now, on the client computers (Windows 11 VMs), we need to join the actual domain. This can be done via the settings. Go into settings -> system -> about -> Domain/Workgroup. Another way is settings -> accounts -> Access work or school.
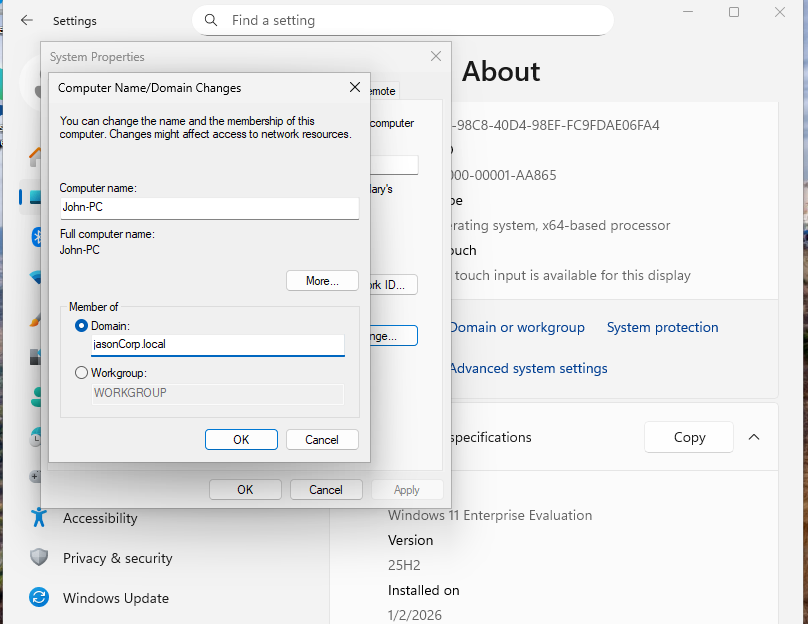
Input your forest/domain name
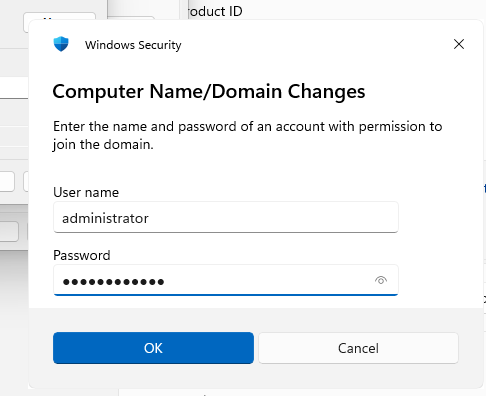
USE ADMINISTRATOR TO LOG IN, basically administrator and the same password used to log in to your Windows Server 2022 (AD+DNS)
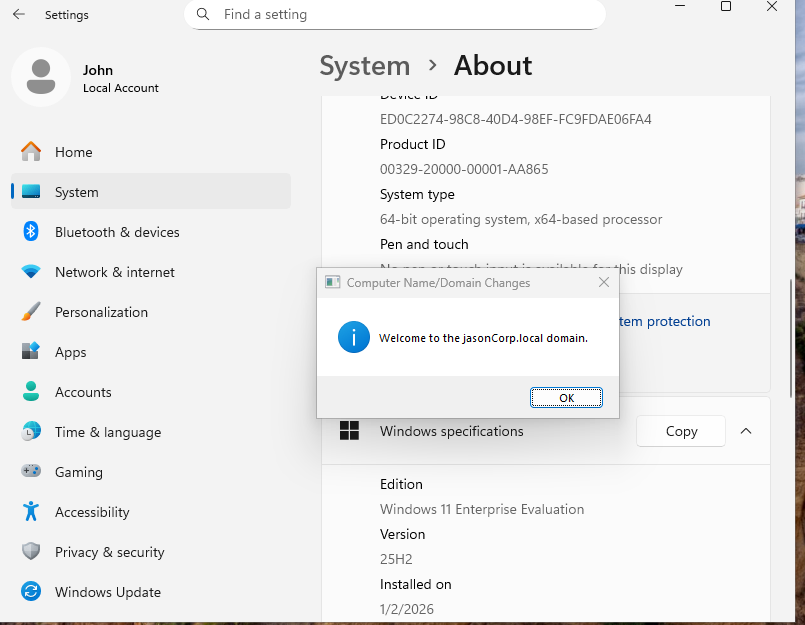
A successful join will prompt you to restart
If at any point you cannot join your domain, DNS will probably be your best option to troubleshoot. Otherwise, you may have installed Windows 11 HOME edition rather than a Windows 11 Enterprise Evaluation copy.
If you cannot select to join a domain, it means you have downloaded the Windows 11 Home edition, in which case you need to restart the client process
You may wonder why I used the administrator account to join the domain. If we use the newly created user accounts (as we did in ADUC), we will encounter the following problem.
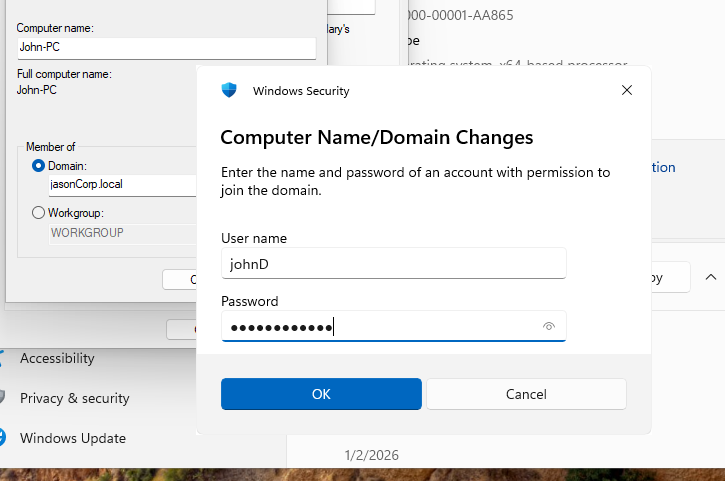
Trying to log in with the newly created username and password within ADUC
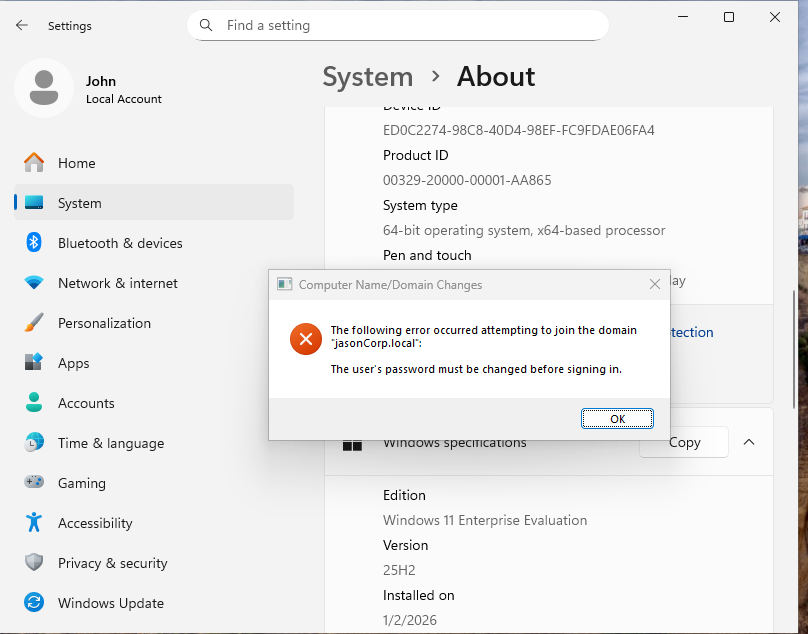
Error prompt, to circumvent, need to log in as administrator FIRST
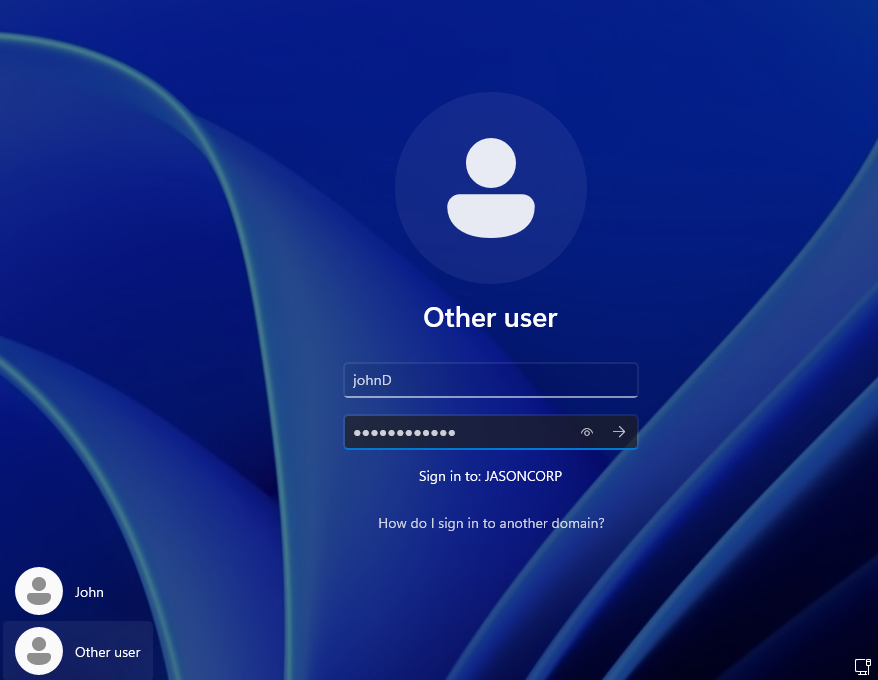
Logging into the Domain
After you have successfully joined the domain, to log into the domain, we need to select Other User, and log in with the username/password combination we created in ADUC.
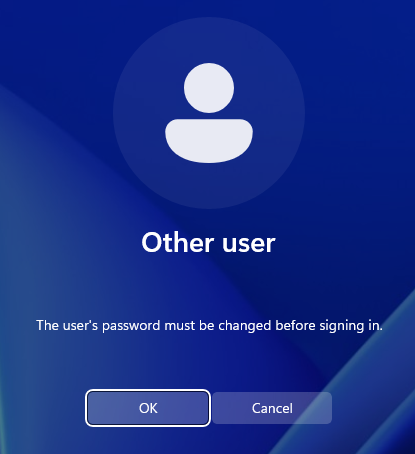
This will pop up if you have selected the option that the user must change their password for their next login
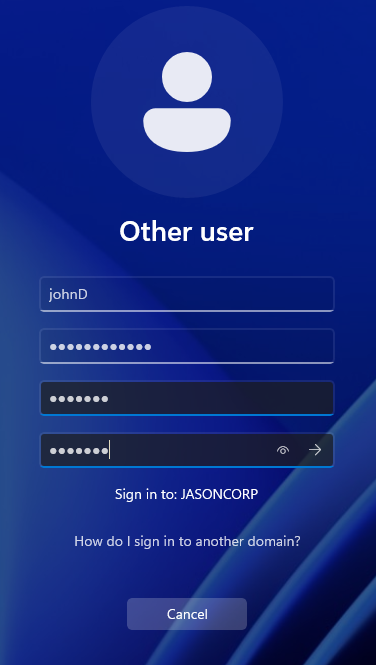
Enter the old password alongside the new password you want

You may run into the following problem due to the default account password policy -> make the password more complex, include symbols, numbers, capital letters, make it decently long, and make sure to not include the username in the password
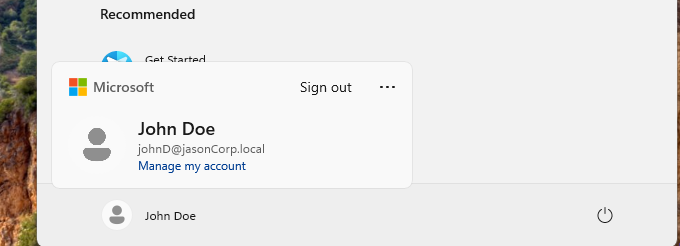
To confirm you have successfully signed in, just press the Windows key and click on the account
Now do the same for your other client VM (if you have one). And you are basically done. The next step is to organize everything (OUs) and to create Group Policy Objects (GPOs).